How to Get Crisp, Clean Edges When Painting Walls
Share This Blog

Nothing ruins a freshly painted room faster than messy edges. You can choose the perfect colour, use quality paint, and still end up staring at uneven lines around the ceiling, door frames, or skirting boards. And once you see it, you can’t unsee it.
The good news is this. Crisp, clean paint edges are not a talent you’re born with. They come down to technique, patience, and a few simple habits that professionals swear by.
If you’re painting your home and want results that look neat and intentional, here’s how to get those clean edges right from the start.
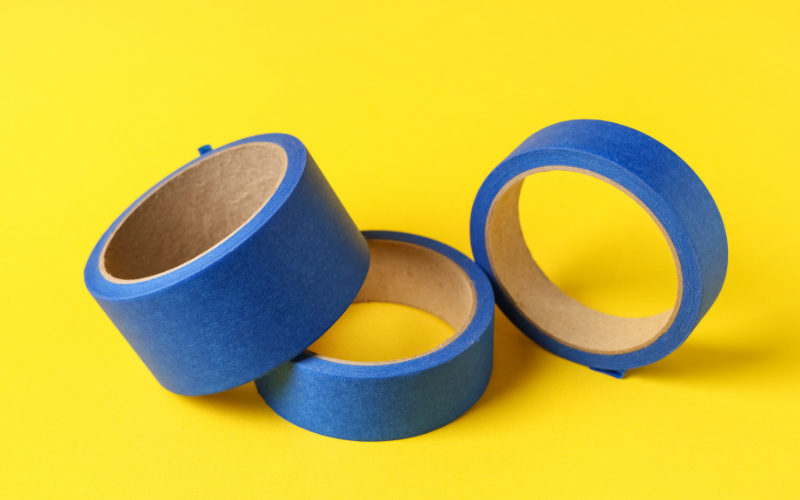
Start with the Right Masking Tape (and Use It Properly)
Masking tape is your first line of defence, but only if you use it correctly.
Choose a good-quality masking tape that sticks well without leaving residue. In Malaysia’s humid climate, cheap tape often lifts or allows paint to seep underneath, which defeats the purpose.
Before applying tape, make sure the surface is clean and dry. Dust or moisture will prevent the tape from sticking properly. Press the tape down firmly along the edge using your fingers or a flat tool, especially along skirting boards and door frames.
One simple trick many professionals use is to seal the edge of the tape with a thin layer of the existing wall colour or a clear coat before painting the new colour. This helps block any gaps and keeps the paint line sharp.
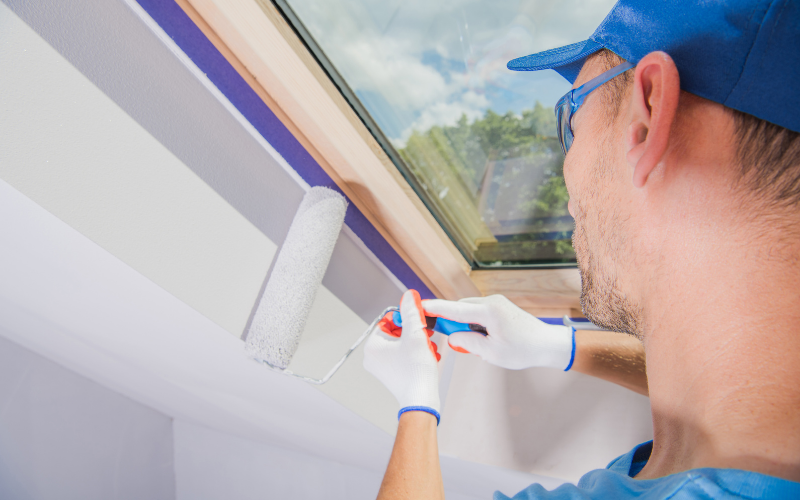
Brush Control Matters More Than You Think
Even with masking tape, brush control plays a big role in how clean your edges turn out.
Use an angled brush for cutting in along edges. The angled shape gives you better visibility and control, especially around ceilings and corners. Dip only the tip of the brush into the paint, then tap off the excess. Too much paint is the fastest way to create drips and uneven lines.
Work slowly and steadily. You’re not racing against the clock. Short, controlled strokes are far more effective than long, rushed ones.
With a smooth-flowing paint like Seamaster Paint, the brush glides more easily, making it simpler to control the edge without forcing the stroke.
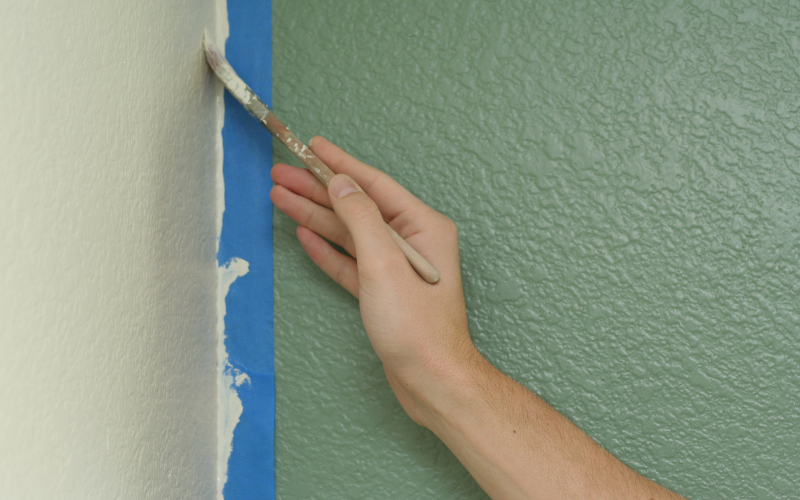
Cut In Before You Roll
One common mistake beginners make is rolling first and worrying about edges later. This usually leads to messy overlaps and extra touch-ups.
Always cut in first. This means painting along the edges, corners, and trims with a brush before using a roller on the larger wall areas. Once the edges are done, roll the wall while the cut-in paint is still slightly wet. This helps everything blend smoothly without visible lines.
Cutting in takes time, but it sets the foundation for a professional-looking finish.
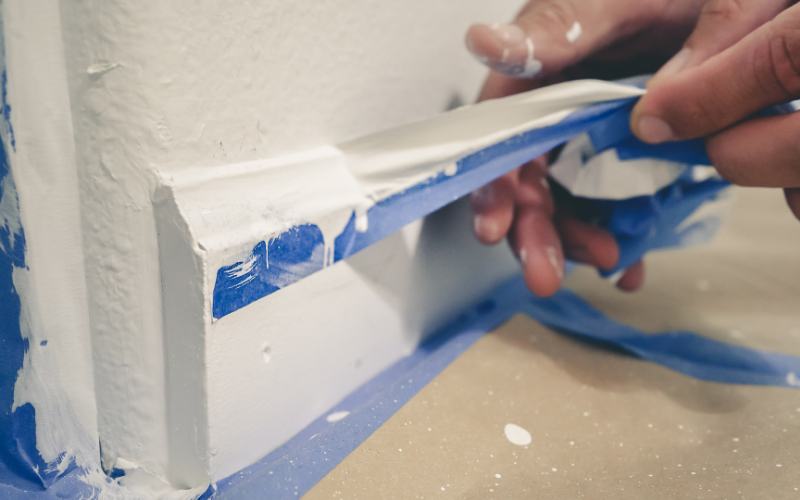
Don’t Rush Tape Removal
Pulling off masking tape at the wrong time can undo all your hard work.
If you remove the tape too late, the paint may dry and peel along with it. If you remove it too early, wet paint can smudge. The best time to remove tape is when the paint is dry to the touch but not fully cured.
Peel the tape off slowly at a 45-degree angle. This reduces the risk of tearing the paint edge and keeps the line clean.
Fix Small Mistakes Immediately
Even professionals make small mistakes. The difference is they fix them before the paint dries.
Keep a damp cloth or small brush nearby. If you notice a smudge or bleed, gently clean it up right away. Touch-ups are much easier while the paint is still fresh.
Trying to fix dried paint often creates more work and less clean results.

Why Paint Quality Makes a Difference
Technique matters, but paint quality matters too.
Low-quality paint tends to bleed, drip, and dry unevenly, making clean paint edges harder to achieve. A well-formulated paint like Seamaster Paint flows smoothly, covers evenly, and responds better to controlled brushwork.
In Malaysia’s climate, where humidity can affect drying time, using reliable paint helps you maintain control throughout the process.
Final Thoughts
Crisp, clean paint edges are not about perfection. They’re about preparation, patience, and using the right techniques.
Take your time with masking, use proper brush control, and don’t rush the process. With a little practice and quality paint, your walls can look neat, polished, and professionally done.
And once you see those clean lines, you’ll understand why the details matter.
SMP Colour & Paint Specialist
Sharing practical house painting tips, smart techniques, and real-world industry insights.
Share this blog
Share your thoughts
More Tips & Tricks

Why Do Walls Stay Damp? Common Causes and Solutions
Wondering why your walls stay damp even when it hasn't...
Read More
Just Got Your House Keys? 7 Things to Check Before Painting
Just got your house keys? Before you start painting, check...
Read More
Painting During Malaysia’s Rainy Season? Avoid These Costly Mistakes
Think cheap paint saves money? Learn why low-cost paint can...
Read More

