
Can You Paint Over Old Paint? What You Need to Know Before Adding Another Coat
Share This Blog
Can You Paint Over Old Paint? What You Need to Know Before Adding Another Coat
You’ve picked a new colour, bought the paint and you’re ready to transform the room.
Then you look at the wall.
There’s already paint on it.
Do you really need to remove all of it first?
Thankfully, you don’t always need to strip off old paint before repainting. In many cases, you can paint over an existing coating and give the room a completely new look.
But there’s one important catch.
The old paint needs to be in good enough condition to paint over.
Otherwise, you could end up putting a beautiful new coat on top of a problem that’s already waiting underneath.
So, Can You Paint Over Old Paint?
Yes, you can paint over old paint if the existing surface is sound, clean and properly prepared.
If the old paint is firmly attached to the wall, isn’t peeling or bubbling, and the surface is relatively smooth, repainting can be much easier than removing everything back to the original surface.
This is especially common when you’re simply refreshing a room or changing its colour.
But don’t take “paint over old paint” to mean “paint straight over whatever is there.”
Those are two very different things.
First, Look at What's Already on the Wall
Before opening the paint tin, take a good look at the existing coating.
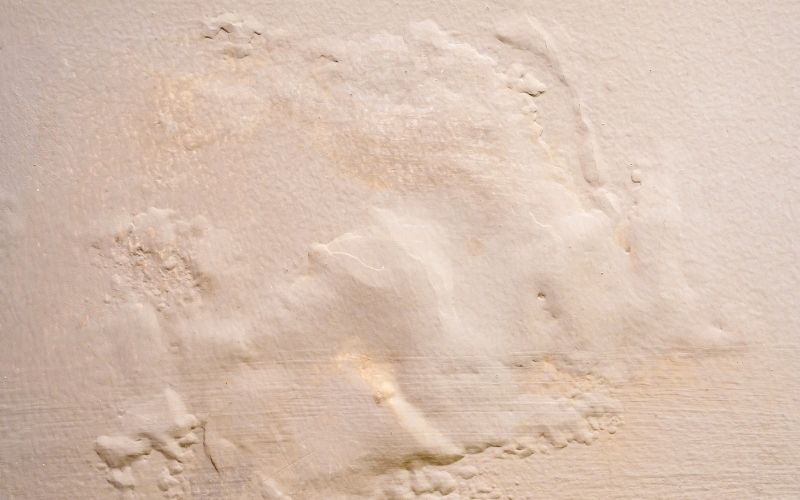
Are there areas where the paint is peeling?
Do you see bubbles, cracks or flaking?
Are there stains?
Does the wall feel dusty or chalky?
Are there obvious patches from previous repairs?
If the answer is yes, don’t simply cover them up and hope for the best.
Your new paint may look perfect initially, but problems underneath can eventually show through or cause the new coating to fail.
Think of it like putting a fresh bedsheet over a mattress with a giant lump underneath.
Technically, you’ve covered it.
You haven’t fixed it.
When Is It Okay to Paint Over Old Paint?
Generally, repainting is much more straightforward when the existing coating is:
- Firmly attached to the wall
- Clean and free from grease or dirt
- Not peeling, bubbling or flaking
- Relatively smooth
- Free from serious moisture problems
If the old paint ticks those boxes, you may not need to remove it completely.
You can focus on preparing the surface properly before applying the new coating.
And that can save you a lot of time, mess and effort.
When Should You NOT Paint Over It?
Here’s where you need to slow down.
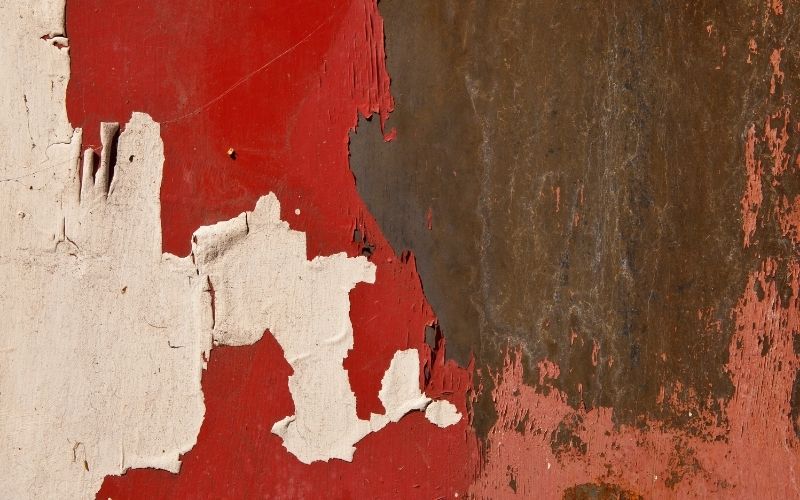
If the existing paint is badly peeling, blistering or flaking, simply adding another layer won’t solve the problem.
The same goes for walls affected by serious dampness, mould or other underlying issues.
You may need to remove loose or damaged paint and deal with the cause before repainting.
Otherwise, you’re essentially giving the problem a fresh coat of paint.
It might look better for a little while, but the issue hasn’t gone anywhere.
What About a Different Paint Type?
This is another thing homeowners sometimes overlook.
Not all paint finishes behave in exactly the same way.
If you’re painting over an existing surface, consider what is already on the wall and what you’re planning to apply next.
For example, a very smooth or glossy surface may need additional preparation to help the new coating adhere properly.
If you’re unsure about compatibility, check the paint manufacturer’s recommendations before getting started.
It’s a lot easier to spend five minutes checking than several hours repainting a wall that refuses to cooperate.
Do You Need to Sand the Wall?
Not every repainting job requires aggressive sanding, but surface preparation is still important.
If the existing surface is glossy, uneven or has imperfections, light sanding may help create a better surface for the new coating.
The goal isn’t necessarily to remove all the old paint.
It’s to create a clean, sound and suitable surface for the new paint to adhere to.
After sanding, make sure the dust is properly removed before painting.
Otherwise, you might end up with tiny bits of yesterday’s wall permanently becoming part of today’s finish.
Nobody asked for textured walls.
What About Stains and Repairs?
A fresh coat of paint isn’t a magic eraser.
If your wall has water stains, grease, mould, crayon marks, cracks or patched areas, deal with them before repainting.
Clean the surface where necessary, repair damaged areas and allow everything to dry properly.
Some stains or repaired sections may also need suitable preparation or primer before the final coats.
This is particularly important if you’re changing from a darker colour to a much lighter one.
A little preparation now can make the final colour look much more even.
How Many Coats Do You Need?
There’s no universal answer.
It depends on the condition of the existing surface, the colours involved, the paint you’re using and the coverage you achieve.
For example, painting a similar shade over a sound existing colour may require less work than trying to cover a very dark wall with a much lighter colour.
Rather than assuming one coat will always be enough, follow the manufacturer’s recommended application and drying instructions.
And give each coat enough time to dry before deciding whether another one is needed.
The Golden Rule of Repainting
Here’s the easiest way to remember all of this:
Don’t paint over a problem. Fix the problem, then paint.
If your existing paint is sound, repainting can be a simple and effective way to refresh your home.
If the old coating is damaged, peeling or hiding an underlying issue, take care of that first.
Seamaster has a range of paint solutions for different applications, but whichever product you choose, the same principle applies: the better the surface preparation, the better your new paint has a chance to perform.
So before you start rolling that beautiful new colour onto the wall, take a few minutes to inspect what’s already there.
Because sometimes the most important part of repainting isn’t the new paint.
It’s everything underneath it.

Aida - SMP Colour & Paint Specialist
Sharing practical house painting tips, smart techniques, and real-world industry insights.
Table of Contents
- Can You Paint Over Old Paint? What You Need to Know Before Adding Another Coat
- First, Look at What's Already on the Wall
- When Is It Okay to Paint Over Old Paint?
- When Should You NOT Paint Over It?
- What About a Different Paint Type?
- Do You Need to Sand the Wall?
- What About Stains and Repairs?
- The Golden Rule of Repainting


